
For tips on shooting HDR and a more advanced HDR tutorial Here
We start by shooting multiple photos and bracket between each. In this case I am using 3 images.
- Regular exposure
- Over exposed by 2EV (2 stops)
- Under exposed by 2EV -2 Stops
Use AEB (Auto Exposure bracketing) on your camera to capture the shots and use exposure compensation. (all covered in the advanced HDR tut)
STEP 1
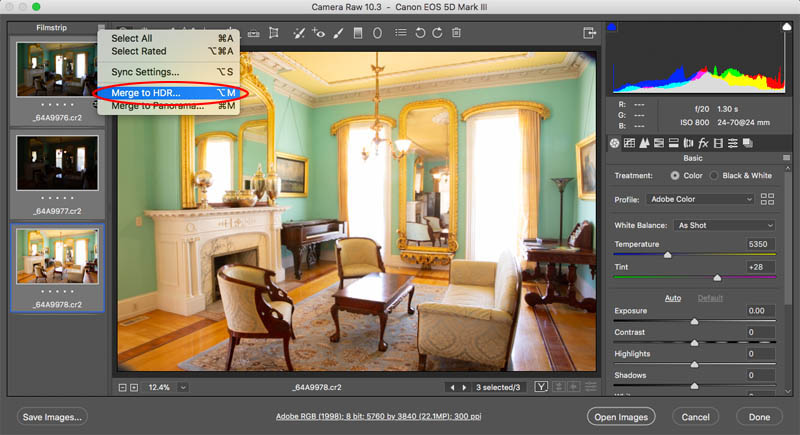
Select all 3 raw files (make sure to shoot in RAW) and open them in Photoshop Camera RAW (ACR). If you choose bridge or even from your finder, it should open in ACR. You will see the photos in the filmstrip.
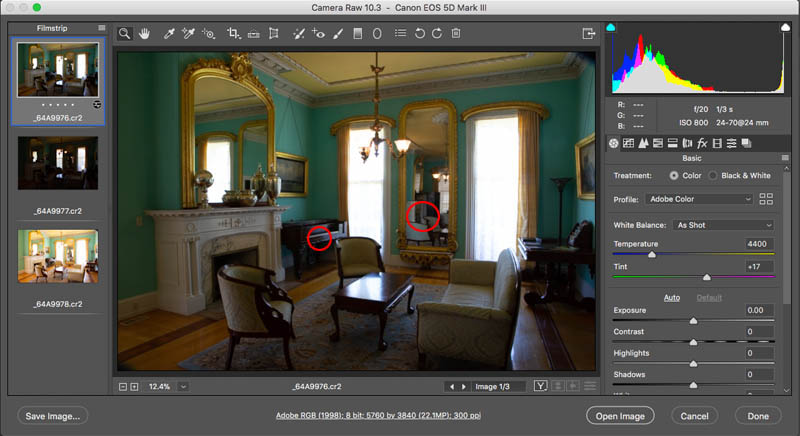
Selecting the regular exposure. Is shows some nice detail in the mids, but loses details in the windows and the dark shadows. Without HDR, photographers would need to put tinted film on th windows to bring down the brightness, or blast the interiour with lots of light to bring it up to a closer brightmness to outdoors. All that is in the past 🙂
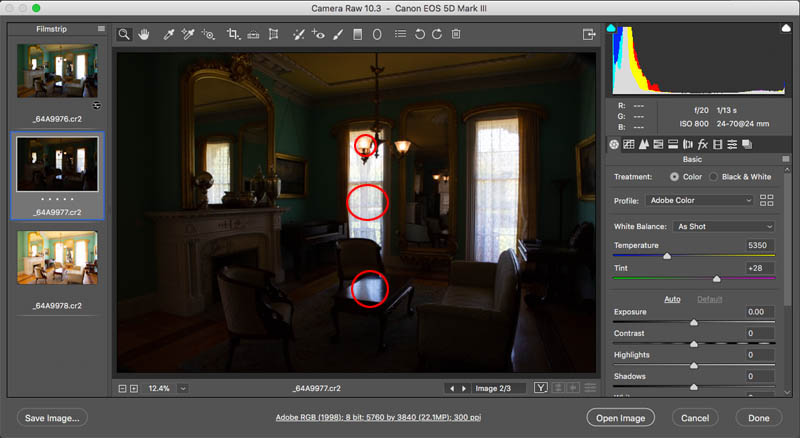
Click on the next image in the film strip. This is the underexposed image. You can see that the details from the windows, reflections and lamps show though nicely.
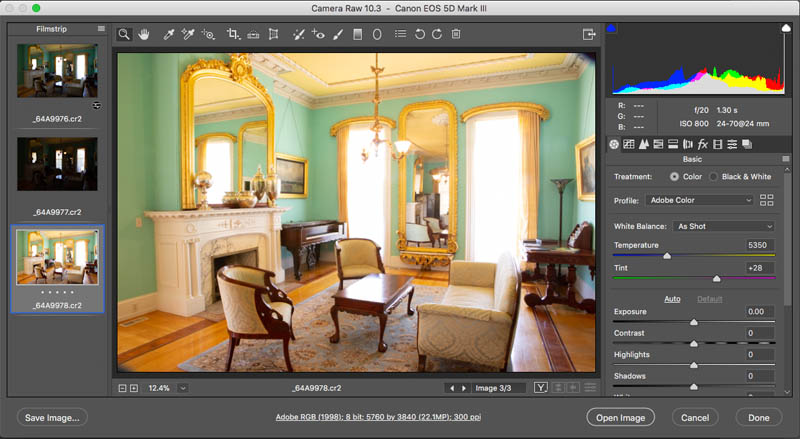
Click on the last image which is over exposed by 2ev (exposure values). You can see that the details are showing in the shadows, but the highlights arecompletly lacking in detail. This is the limitation of the cameras sensor or Dynamic Range, which means how much shadow and highlight can be captured in a single photo. This is why we need HDR.
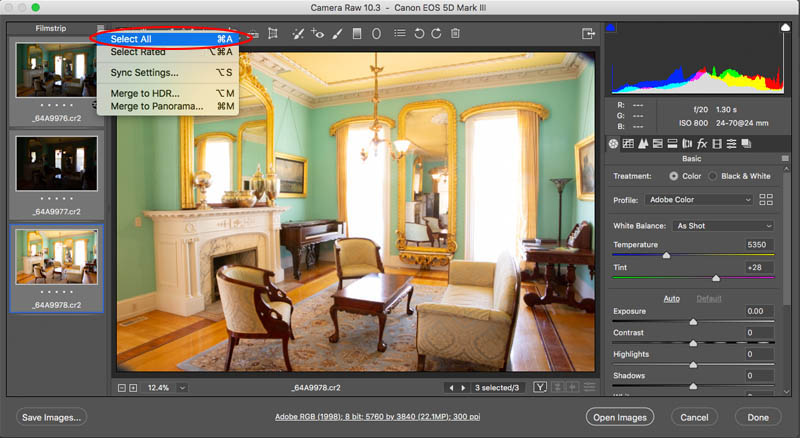
STEP 2 MERGING INTO HDR
Click at the tool option in the top an choose Select all. Or press Cmd/Ctrl+A to select all 3 bracketed photos.
Now we want to take all the dynamic range (details) of the 3 images and combine them into a single new image.
Choose Merge to HDR
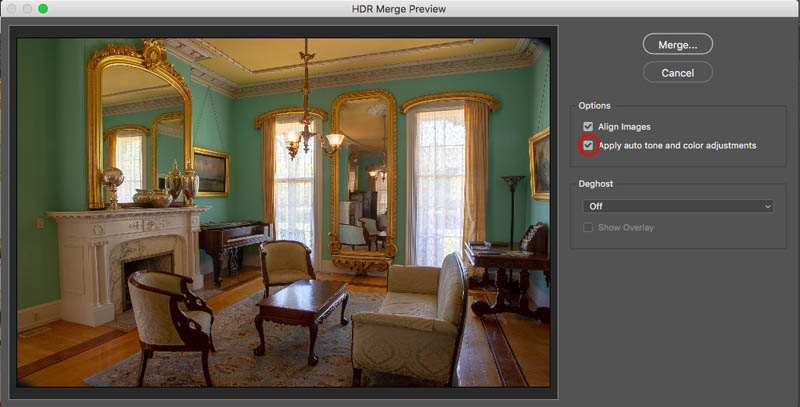
You will see a dialog box. I normally turn on Ally Auto Tone, it gives you a good starting point. Deghost is only used if there is movement and objects appear in some of the photos and not all, such as a person walking or a bird flying through.
Click Merge
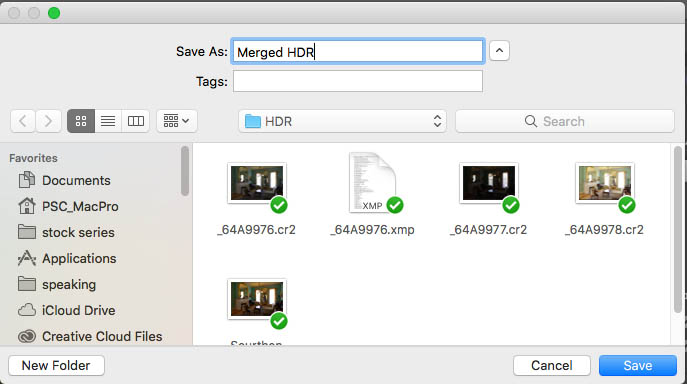
You will now be asked to save a file. This is going to be the new merged photo. Choose where ever you like to save it, but don’t forget where you put it!
Click Save
STEP 3. REFINING THE HDR PHOTO
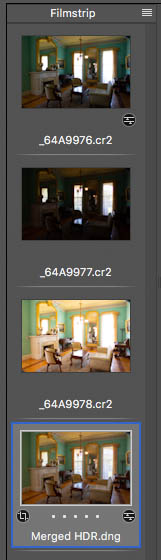
You will notice that the new Merged Photo (HDR) is now at the bottom of the film strip. Click on it to make some adjustments.
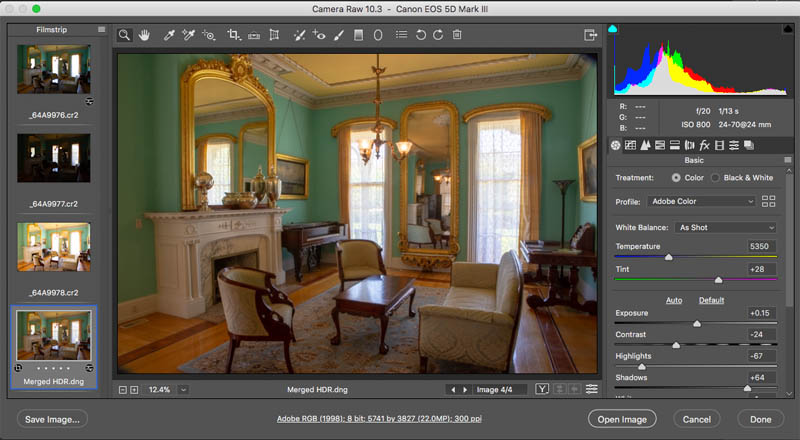
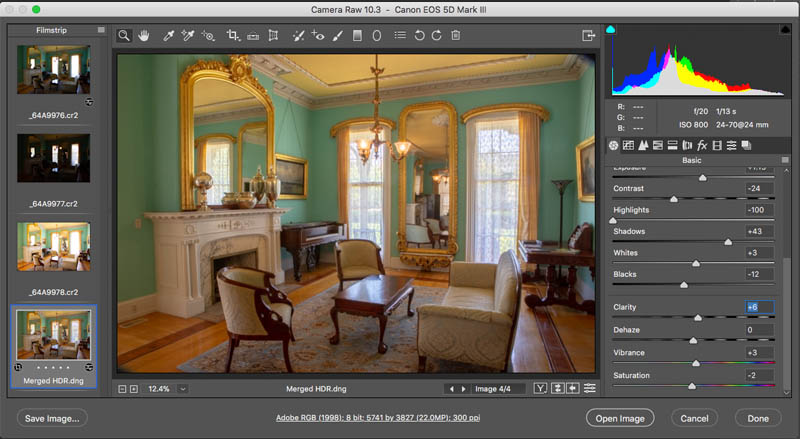
And here it is after I have made some subtle changes to the basic sliders. You can see it’s a realistic looking result.
Tip: Avoid moving the Shadows too far to the right or it will begin to look fake.
You can see the advantage of HDR. I have highlighted some of the areas that would be very difficult to capture with detail without using this technique. This is really useful for anyone, but especially for people working with Real Estate and architecture photos.
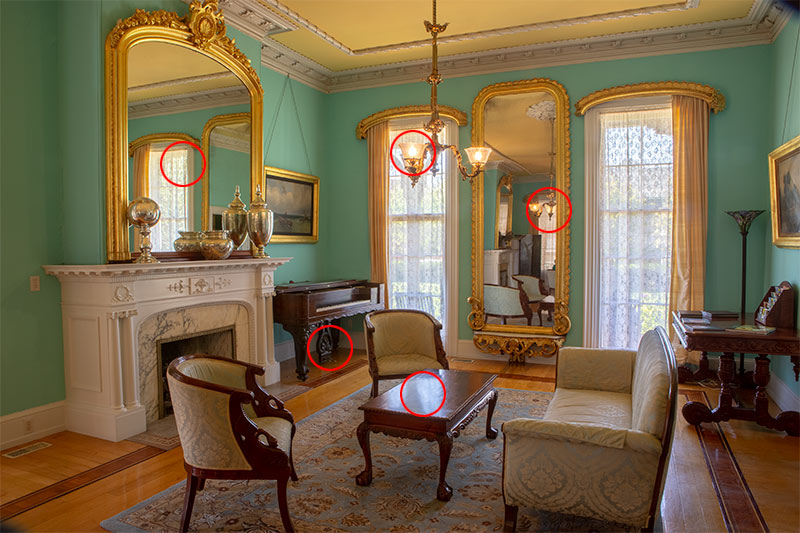
And here is the final result. I hope you enjoyed this, check out the resources below and make sure you watch the video if you didn’t, there is some additional information.
