
By clicking on LR Photos inside the welcome screen of Photoshop, your Lightroom photos will be synced with your Lightroom photos in the cloud.
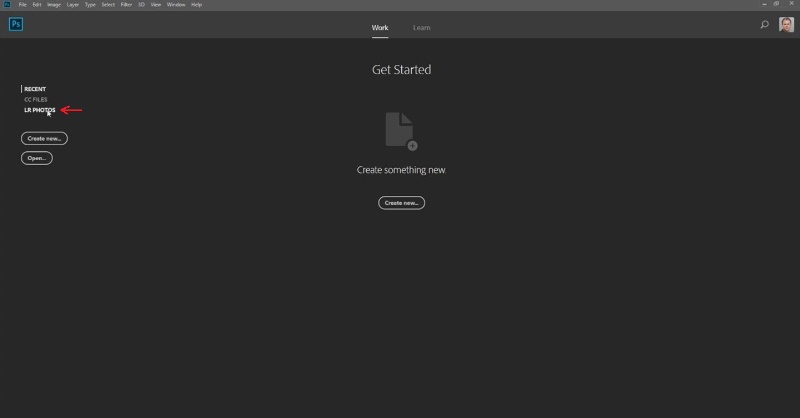
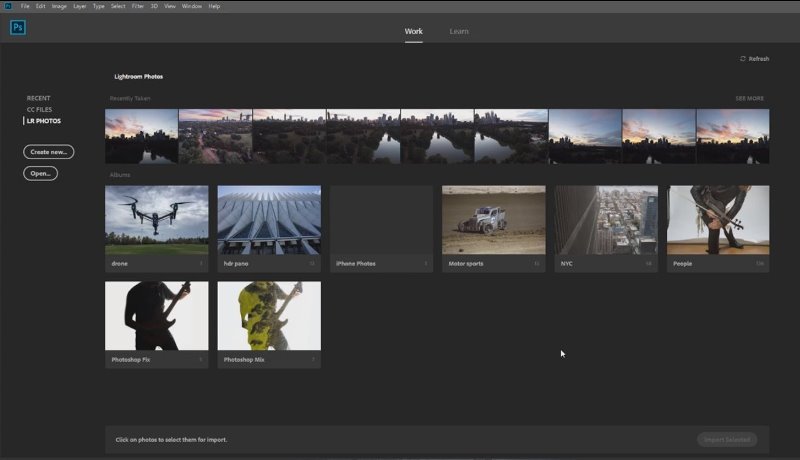
Now you can view your photos that you’ve got synced on Lightroom CC and access them right here within Photoshop. Any changes will also be updated to the cloud.
FEATURE 2: RANGE MASK IN CAMERA RAW
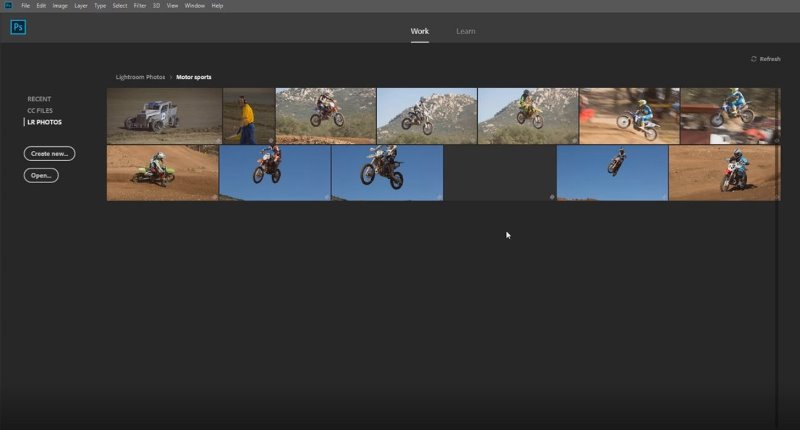
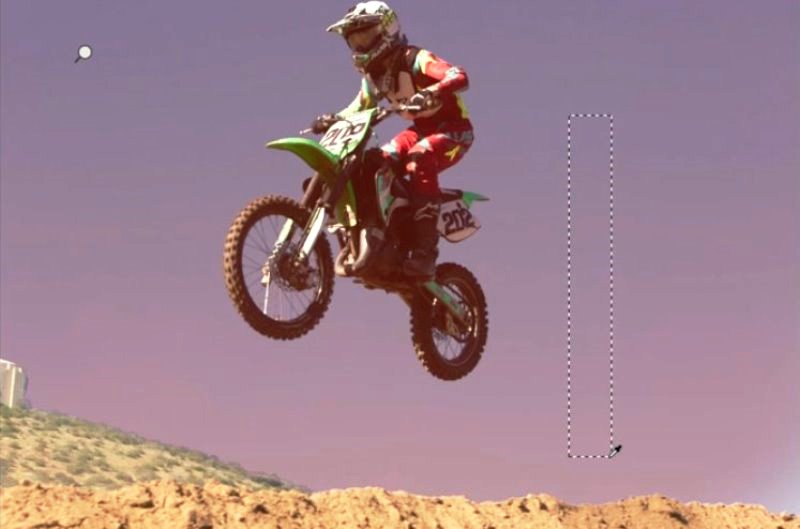
Let’s open one of synced photos inside of Photoshop, inside of Camera raw.
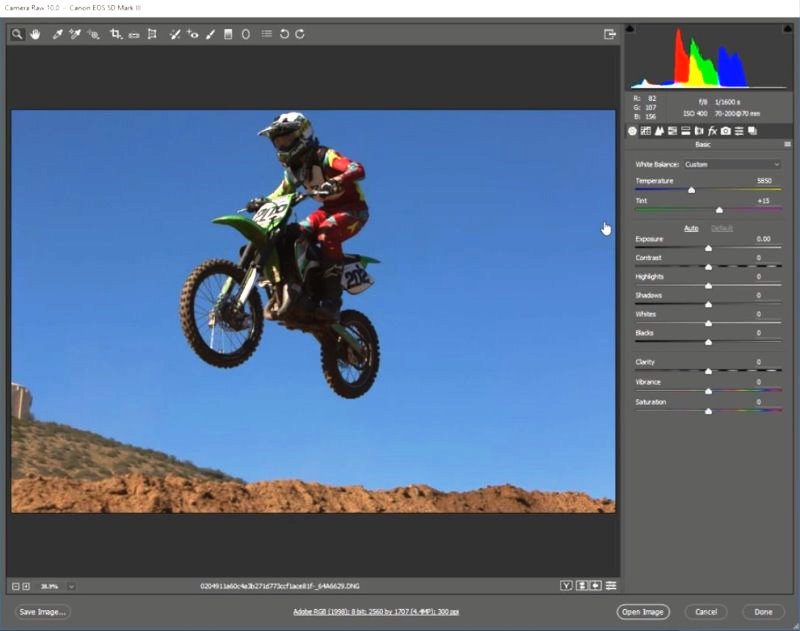
We want to make the motorcycle brighter, but at the same time, we want to make background darker.
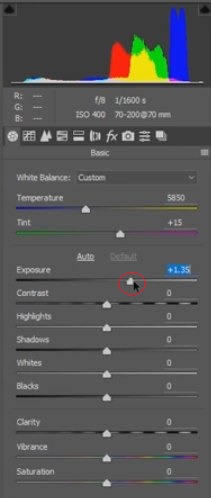
We can use Exposure to make the photo brighter or darker.
Once you’ve made the whole photo brighter, you now want to darken the background only.
Of course, you could use Adjustment Brush (quick select brush).
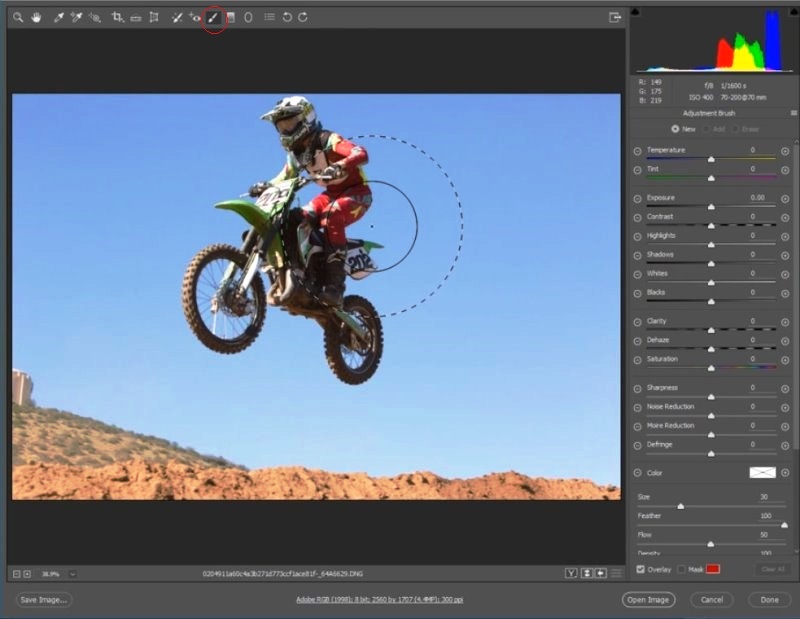
Here’s where a new feature comes into play.
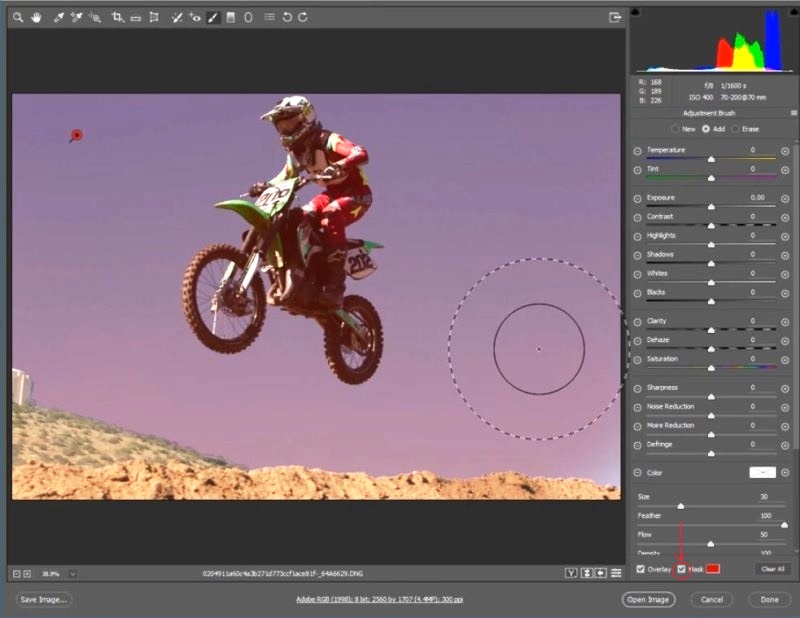
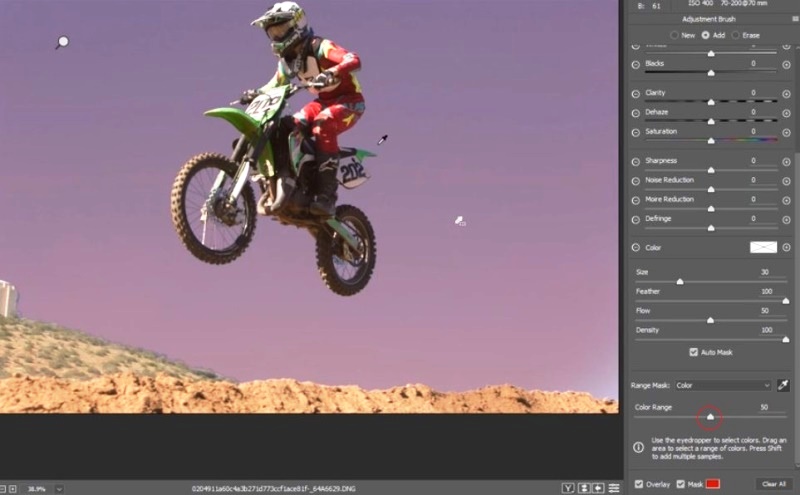
View the mask and paint the quick selection over the whole area.
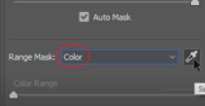
You should now scroll down and turn on Auto Mask.

You will see some new options called Range Mask. Color and luminosity can now be used to get a much better selection than possible in the past. (This feature is in Adobe Camera Raw and Lightroom Classic. (See the end of this article for more on Lightroom “Classic”)
Under Range Mask choose Color.
Grab the eyedropper

Use the eyedropper to select the area on the background, this is the blue color we want to isolate (its blue under the mask)
The Motorcycle area now becomes deselected.
You can also adjust color range by tweaking it.
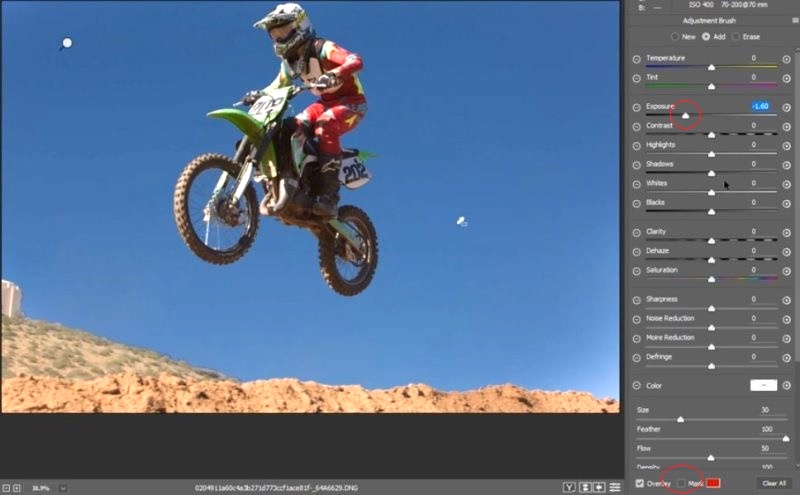
Turn off Mask.

Turn exposure down.

Now you can darken the sky without effecting the motorcycle, thanks to better masking.
Feature 3: An improved select and Mask workspace
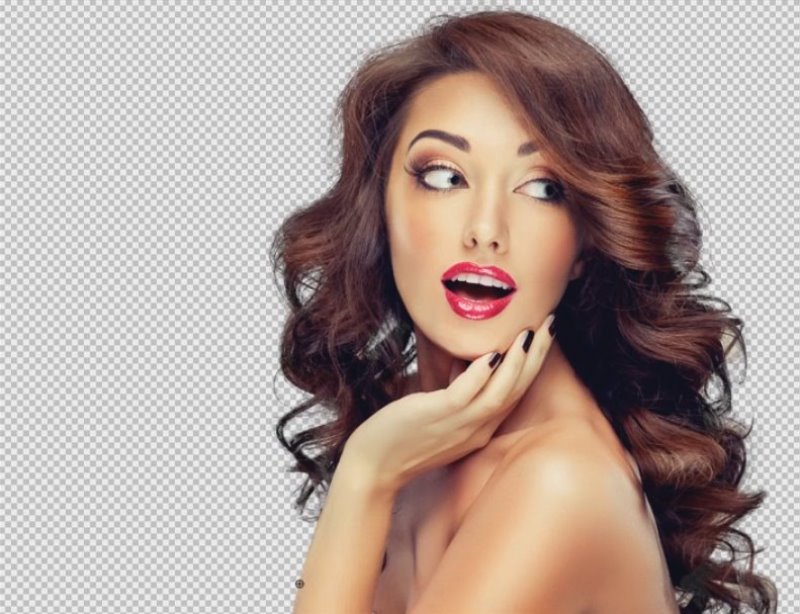
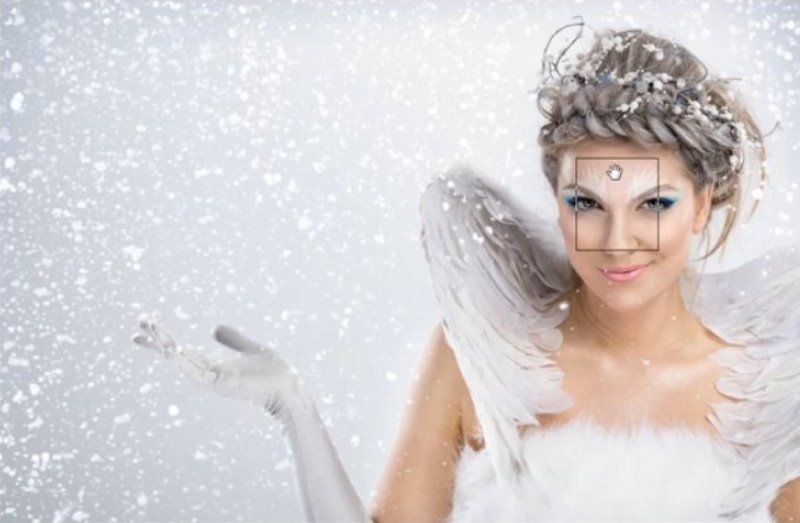
Here’s a photo to work with.
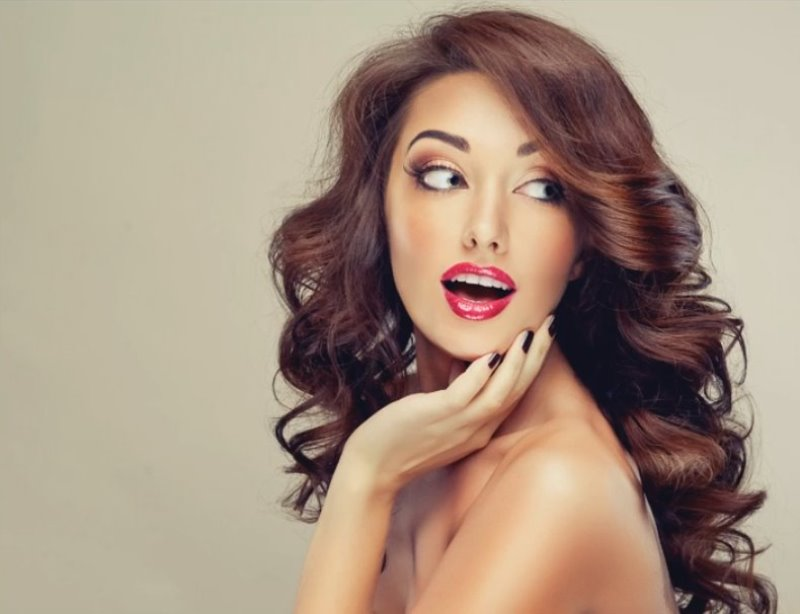
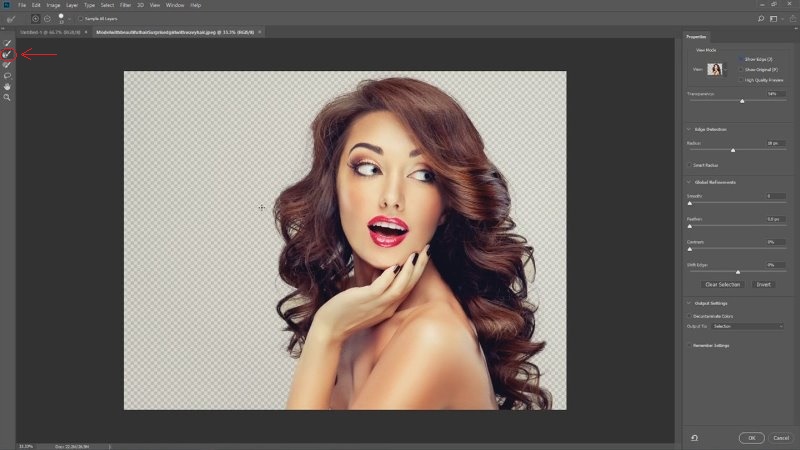
Grab the quick select tool. ![]()
Make a selection around the model.
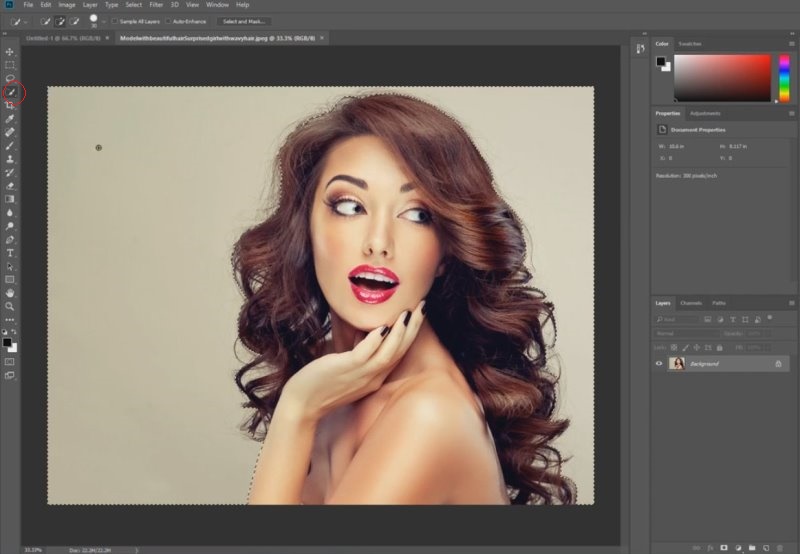
Choose select and mask.

Now you’ll be presented with this.
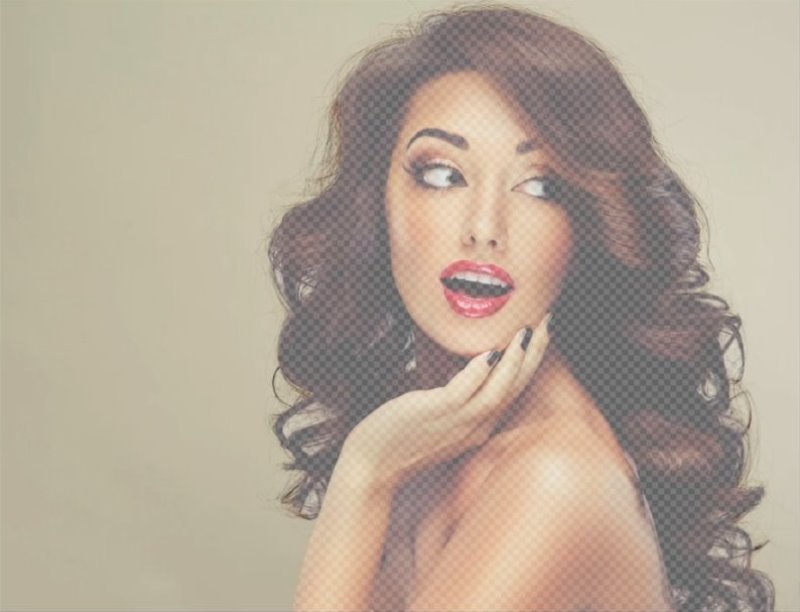
Inverse the selection by clicking Invert.
Decrease the transparency a little bit.

lets take a peek at the selection edge. Select Show Edge.
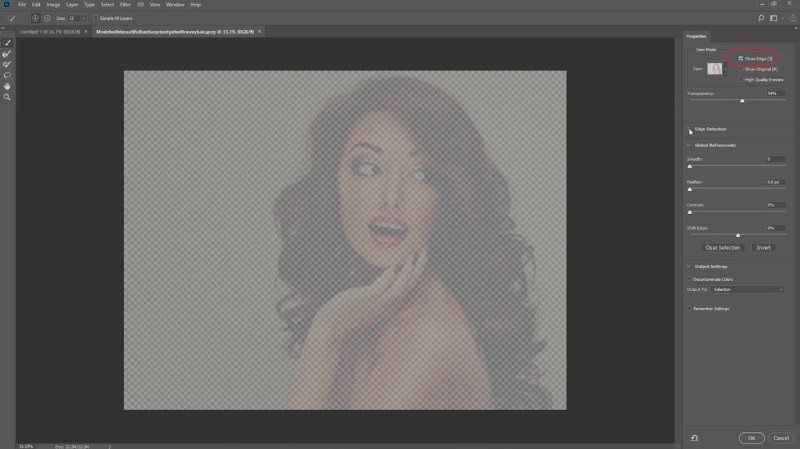
Increase the radius until you see an outline.
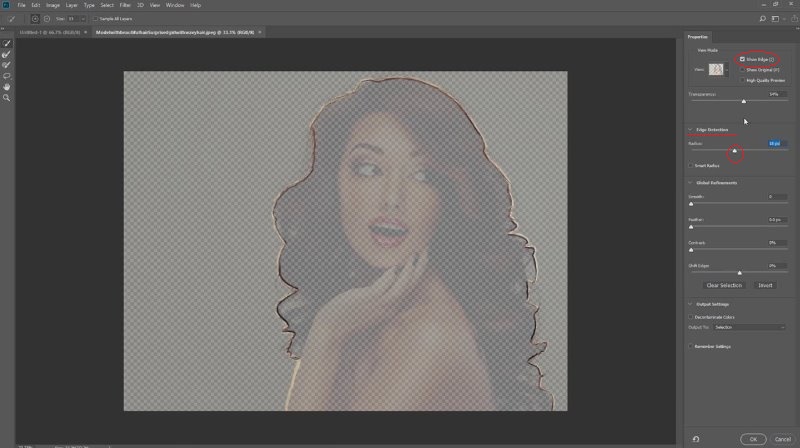
Turn off Show Edge.
Grab the refine mask tool ![]()
Use this tool to go all around the hair on the model.
Check Decontaminate Colors.
Make sure that the “Output To” is set to New Layer with Layer Mask.
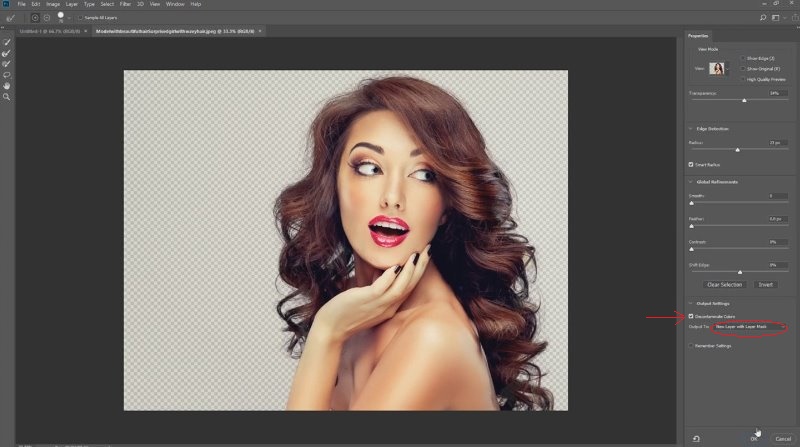
Click OK.
Now you will be able to see that hard edges and hair look much better than with the previous version. In fact the Select and mask was pretty bad on the previous version, but now, I’m happy to say, it’s much better in CC2018!
FEATURE 4: INTELLIGENT SCALING
We have the same picture in two separate documents.
First we’ll set both of them to 100%.
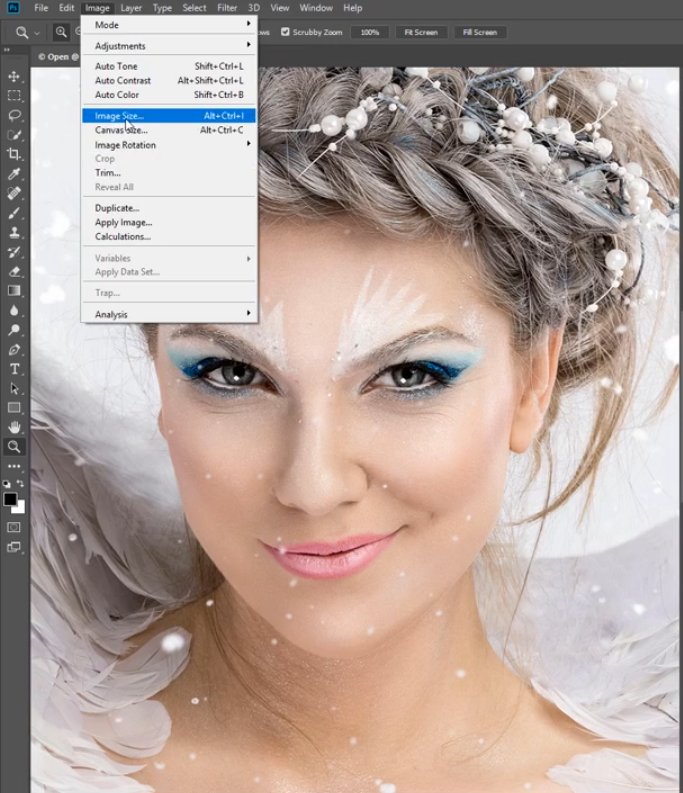
Select the left image and choose Image>Image Size
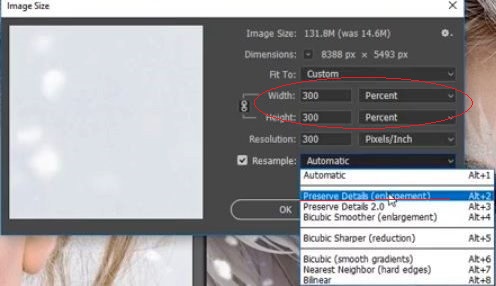
Scale up by 300%.
Under Resample we’ll use Preserve Details (enlargement).
Preserve Details (enlargement) was actually the best that we had before with Photoshop resizing images.
Click OK to apply the settings to the left photo.
Select the photo on the right and choose Image>Image Size.
Scale up by 300%.
With this image, under Resample we’ll use Preserve Details 2.0. This new feature uses machine learning or deep learning or artificial intelligence to actually recompose a photo.
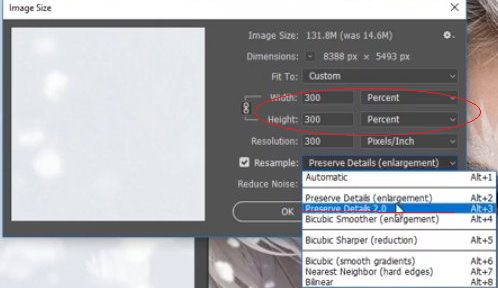
Click OK to apply the settings for the right image.
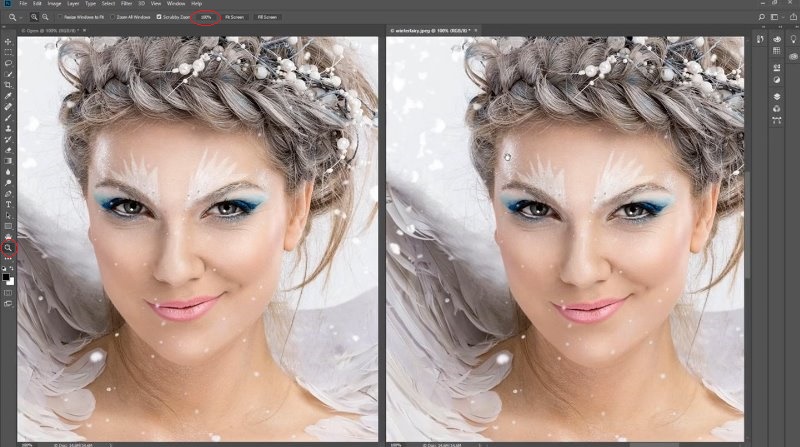
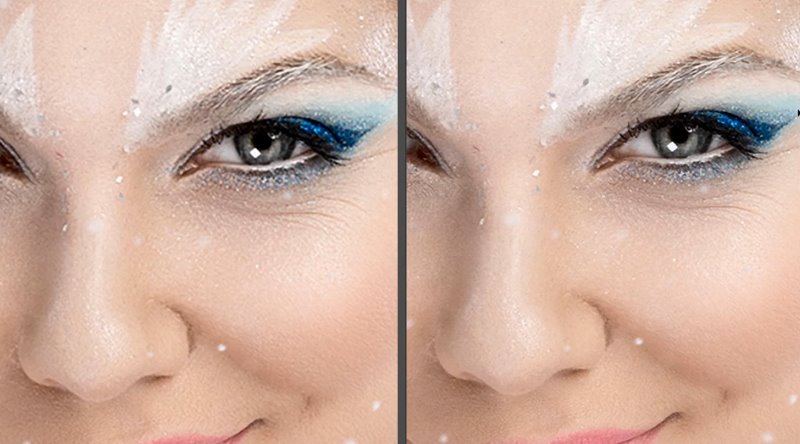
Now both of our images are scaled up by 300%. With the left image we used Preserve Details (enlargement). With the right one we used all new Preserve Details 2.0.
Select the left image.
Hold down the H key.
Click and drag.
Use the Birdseye to get a close-up.
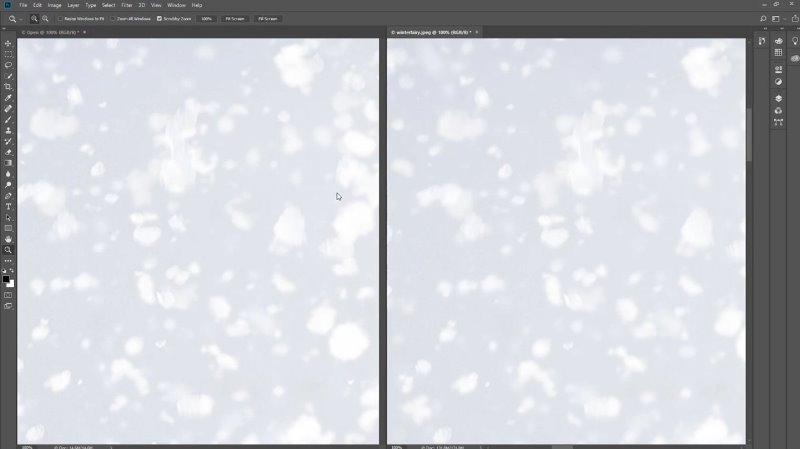
We have to bring the right image to the same size so we can make a comparison.
Choose Window>Arrange>Match All
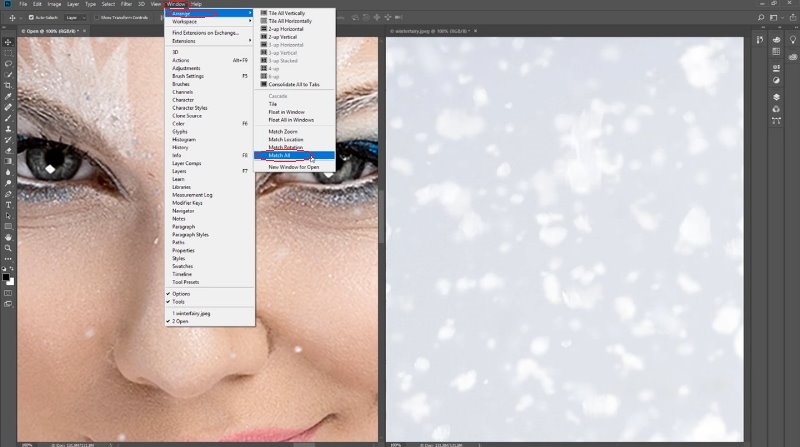
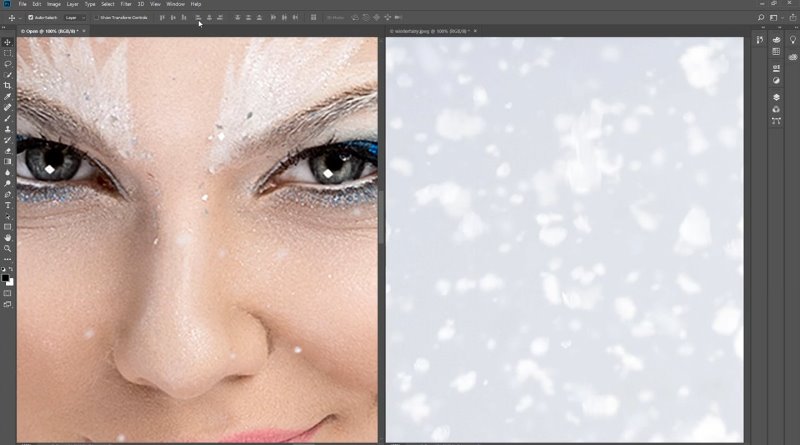
Now you have two images side by side and you can compare the details.
Maybe the biggest difference can be seen around the eyes with the right image having more distinct details.
Of course, the real difference can only be spotted when using higher magnification.
FEATURE 5: ABILITY TO WORK WITH 360 DEGREE PHOTOS
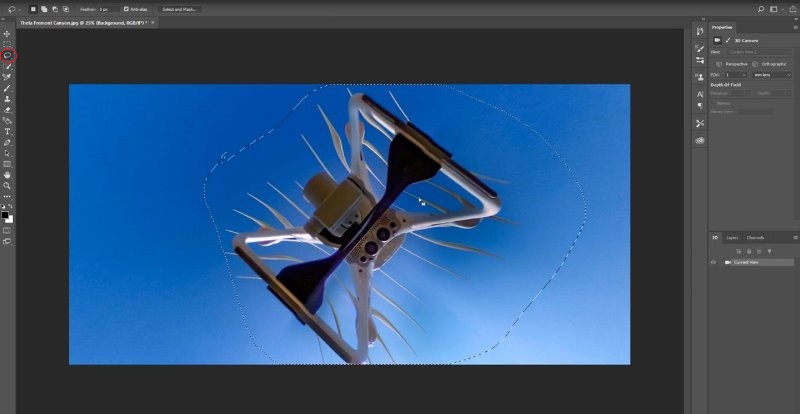
Here is a photo taken by Russel Brown. This is shot with a Ricoh Theda on top of his DJI Phantom drone.

We now have the ability to work on this inside Photoshop
Let’s turn this into an actual panorama.
Go to 3D>Spherical Panorama>New Panorama Layer From Selected Layer(s)
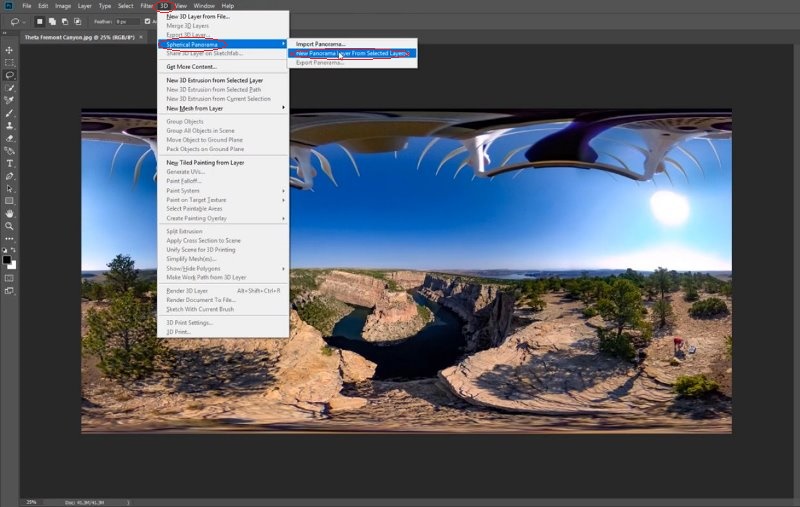
We’ll now have an actual panorama that we can pan around and see everything.
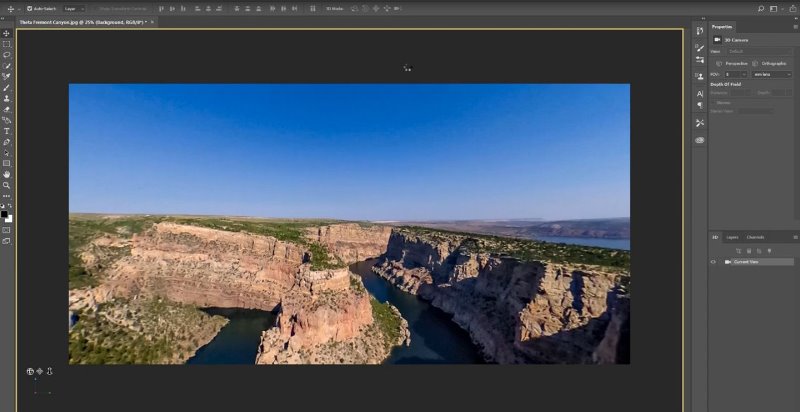
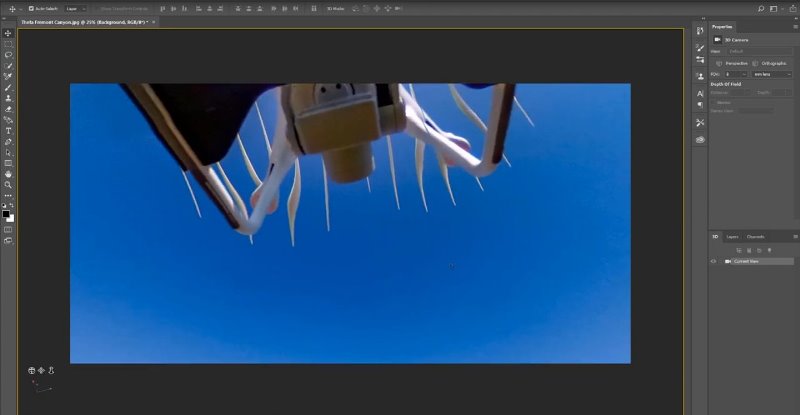

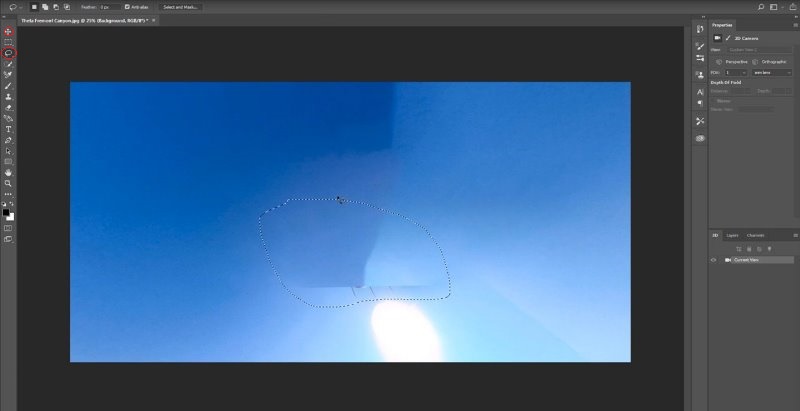
Let’s take this drone out of the shot.
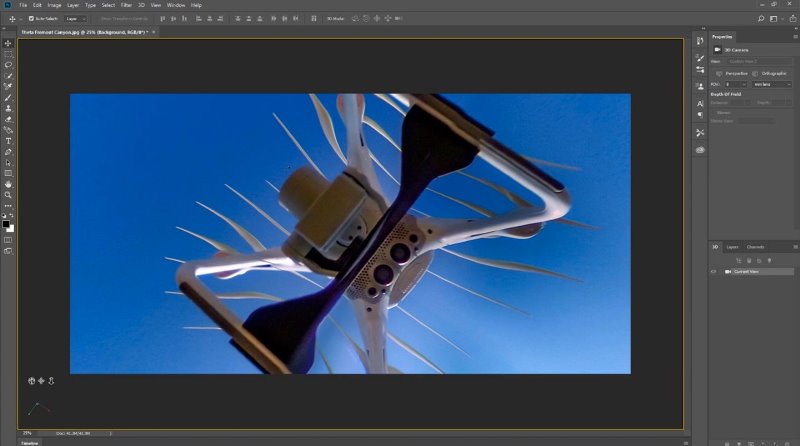
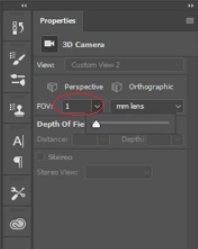
First, set Field of View (FOV) to 1.
Grab a selection tool. ![]()
Make a selection around the drone.
We will use Content-Aware fill.
Click Shift + Backspace or Shift + Delete for Mac
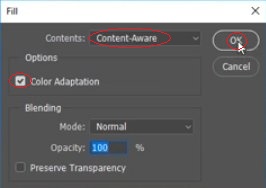
Make sure Color Adaptation and Content-Aware are selected.
Click OK.
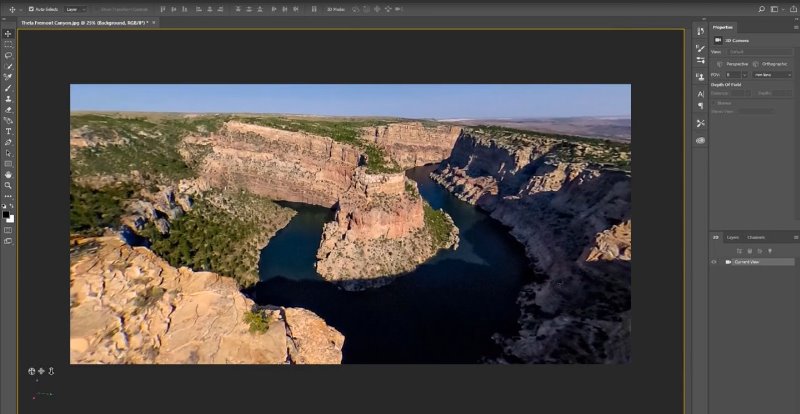
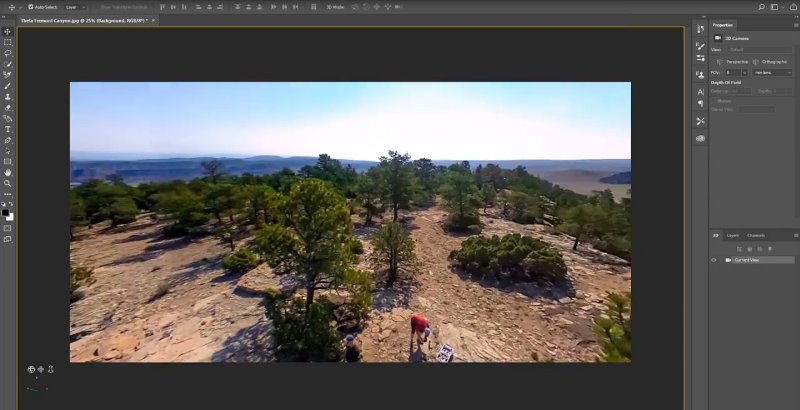
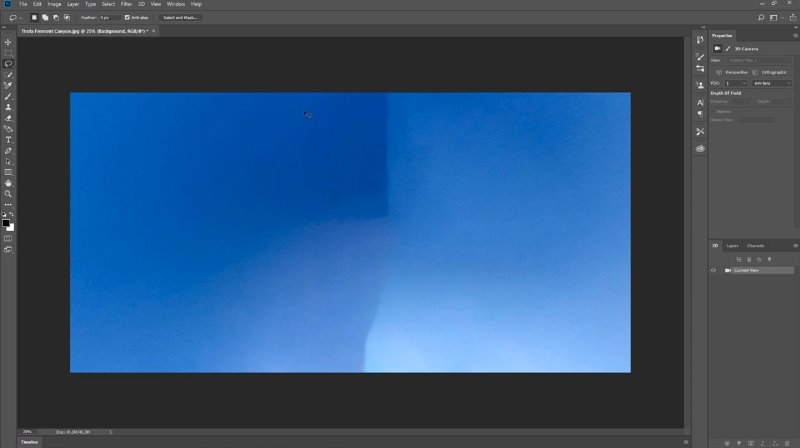
The drone is gone.
We still need to get the remaining parts of a drone removed.
Move to the remaining part.
Grab the lasso tool .![]()
Make a selection around the remaining part.
We will once again use Content-Aware fill.
Click Shift + Backspace or Shift + Delete for Mac
Make sure Color Adaptation and Content-Aware are selected.
Click OK.
The drone is completely removed.
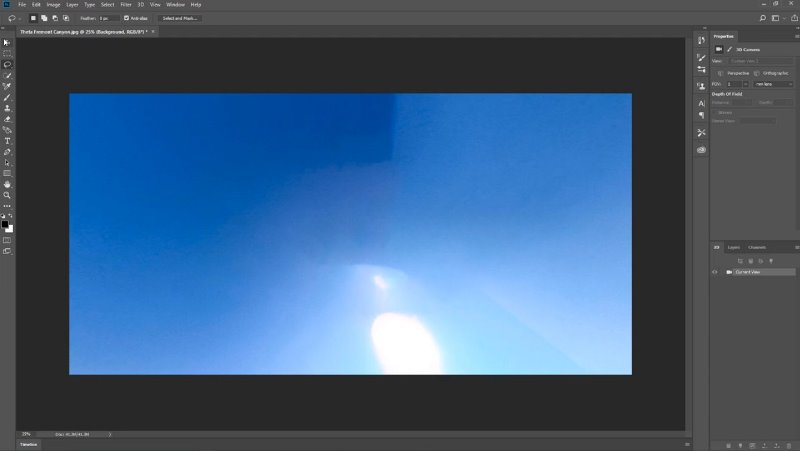
Now that the drone is removed, people can move around all over the photo and enjoy the panorama without a drone above their heads.